Following up on my last post on this topic, the guitar body arrived today, so I went to work on in, using parts from my Jag-Stang. What follows is my build log, enjoy!
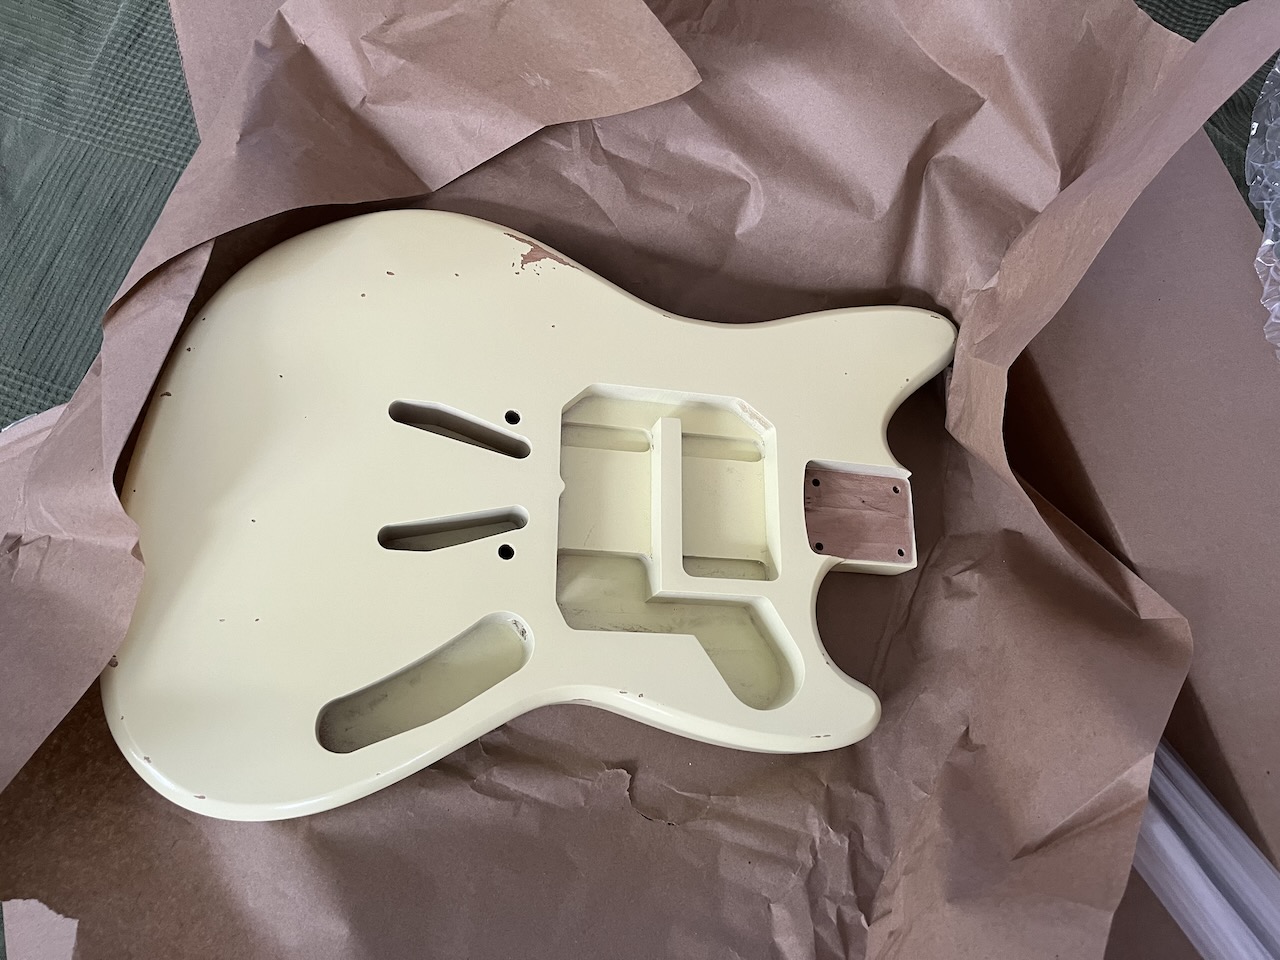 After some uncertainty about whether or not it would arrive today, and whether or not we would have to pay import
duties at the door, the guitar arrived with no fuss.
I was surprised at how light the packaging was, a good sign for a guitar body I suppose.
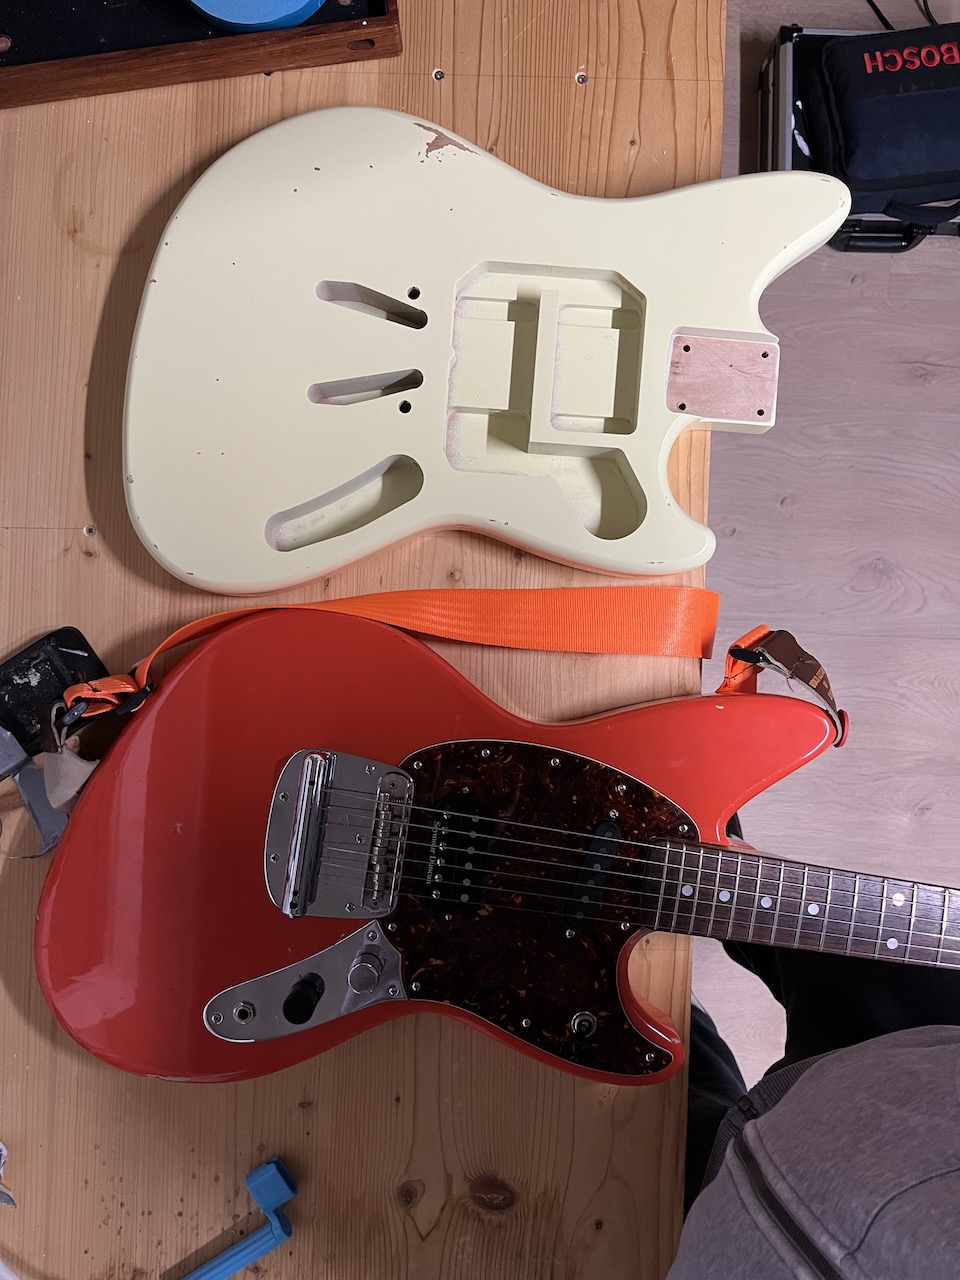 Here it is compared to my Jag-Stang. They're about the same size, which surprised me: Until now I had only seen
online pictures, and I thought it would be much bigger.
I didn't plan a full build, I just bought the new body because it's a shape I'd wanted for a long time. For now, I'll just take apart my Jag-Stang and transfer the parts across.
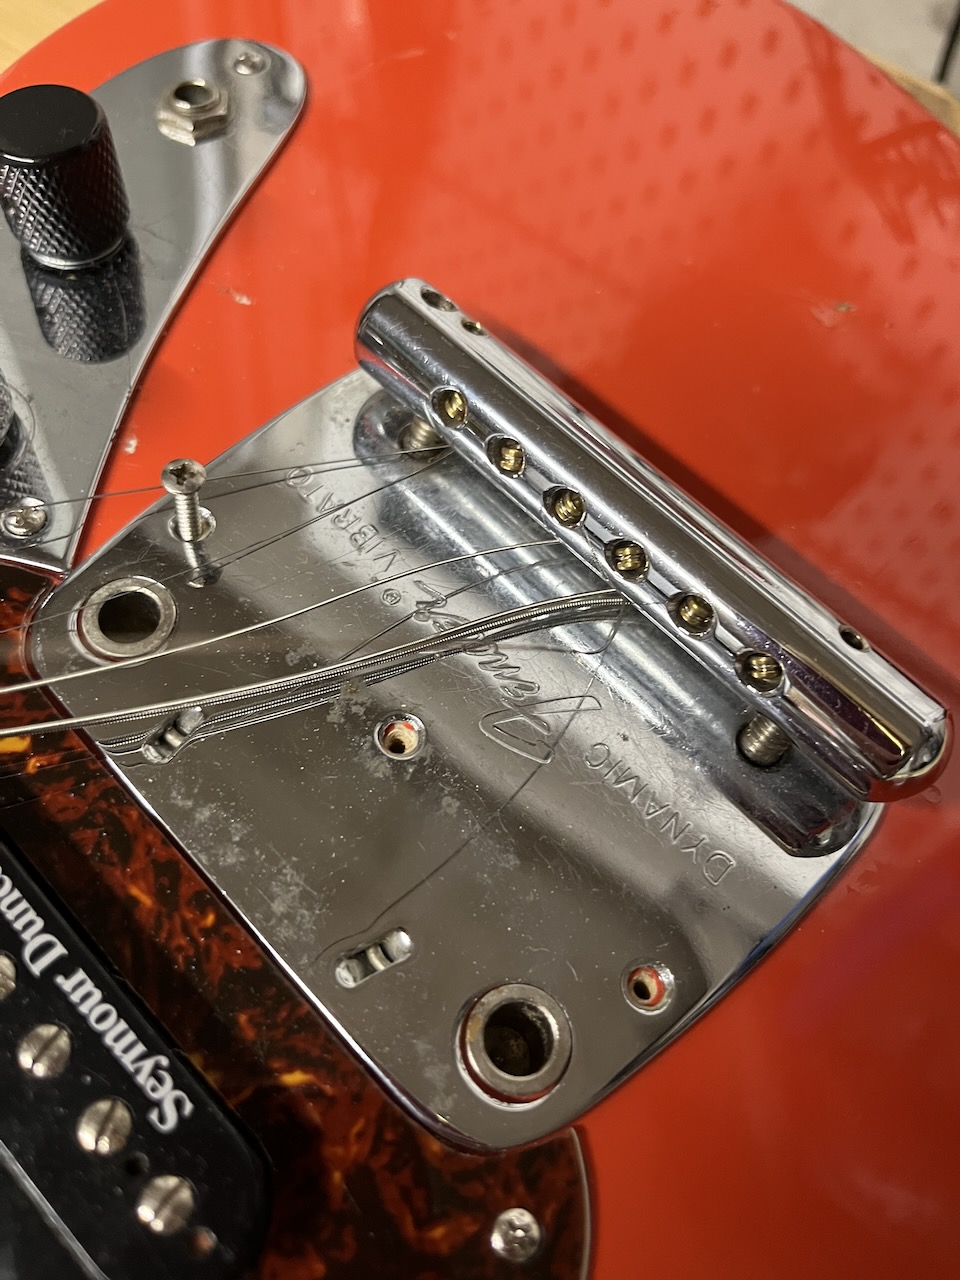 Let's start with the bridge/tailpiece assembly. This is where I came across the first issue...
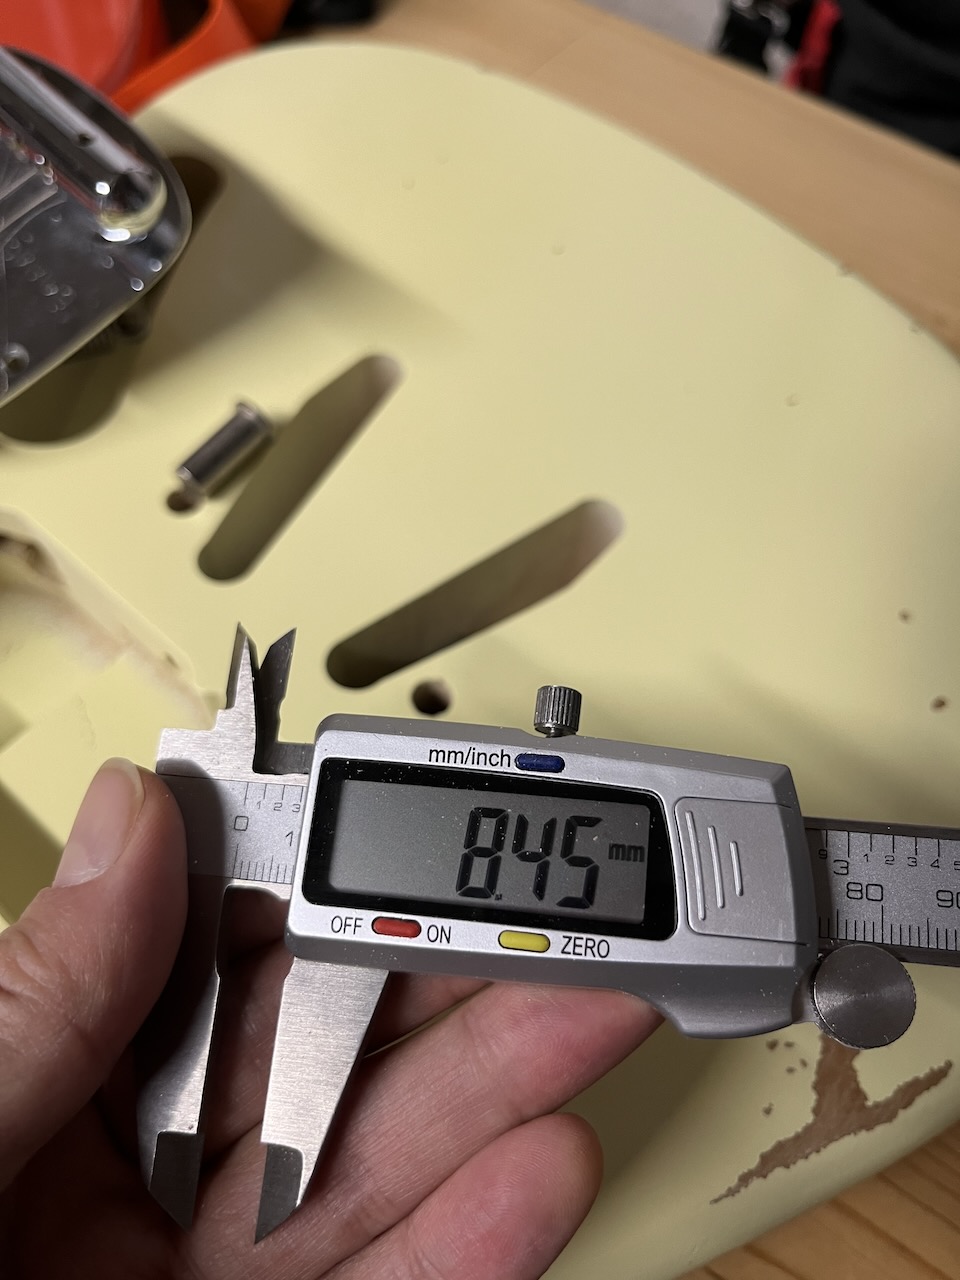 At about 8.5mm in diameter, the bridge post holes on the body did not match the posts I had.
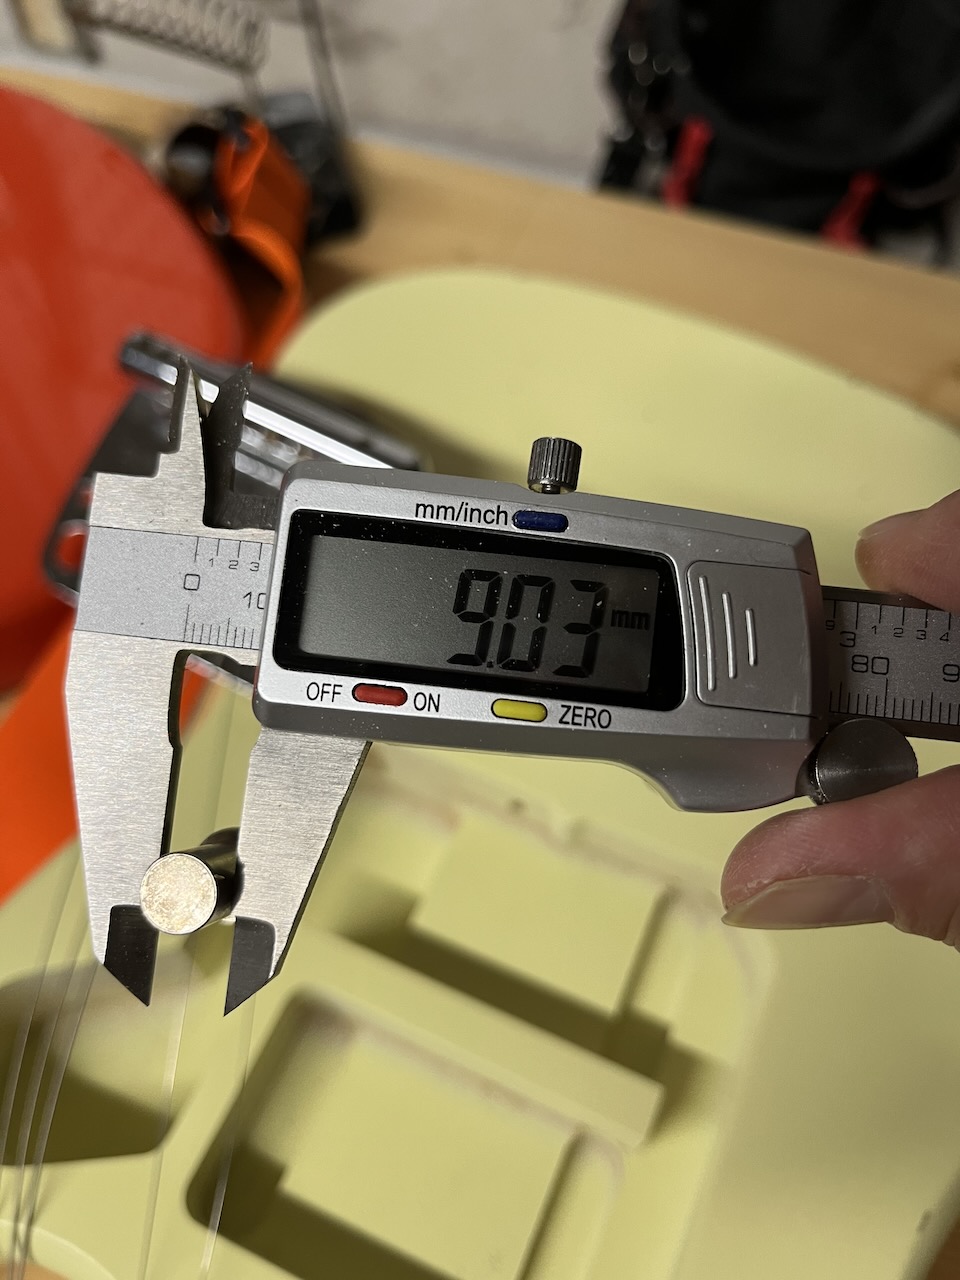
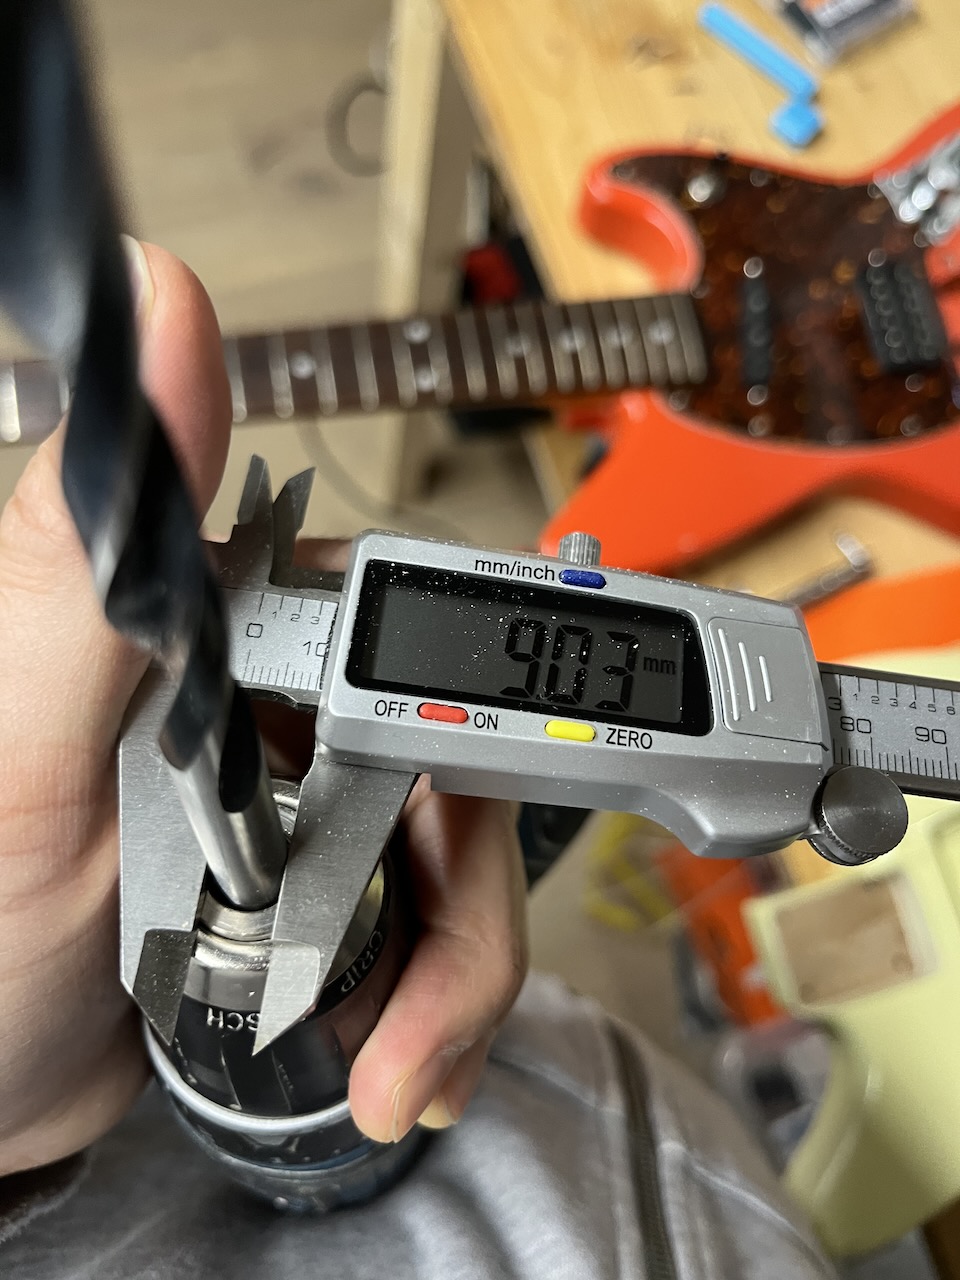 Time to widen those holes...
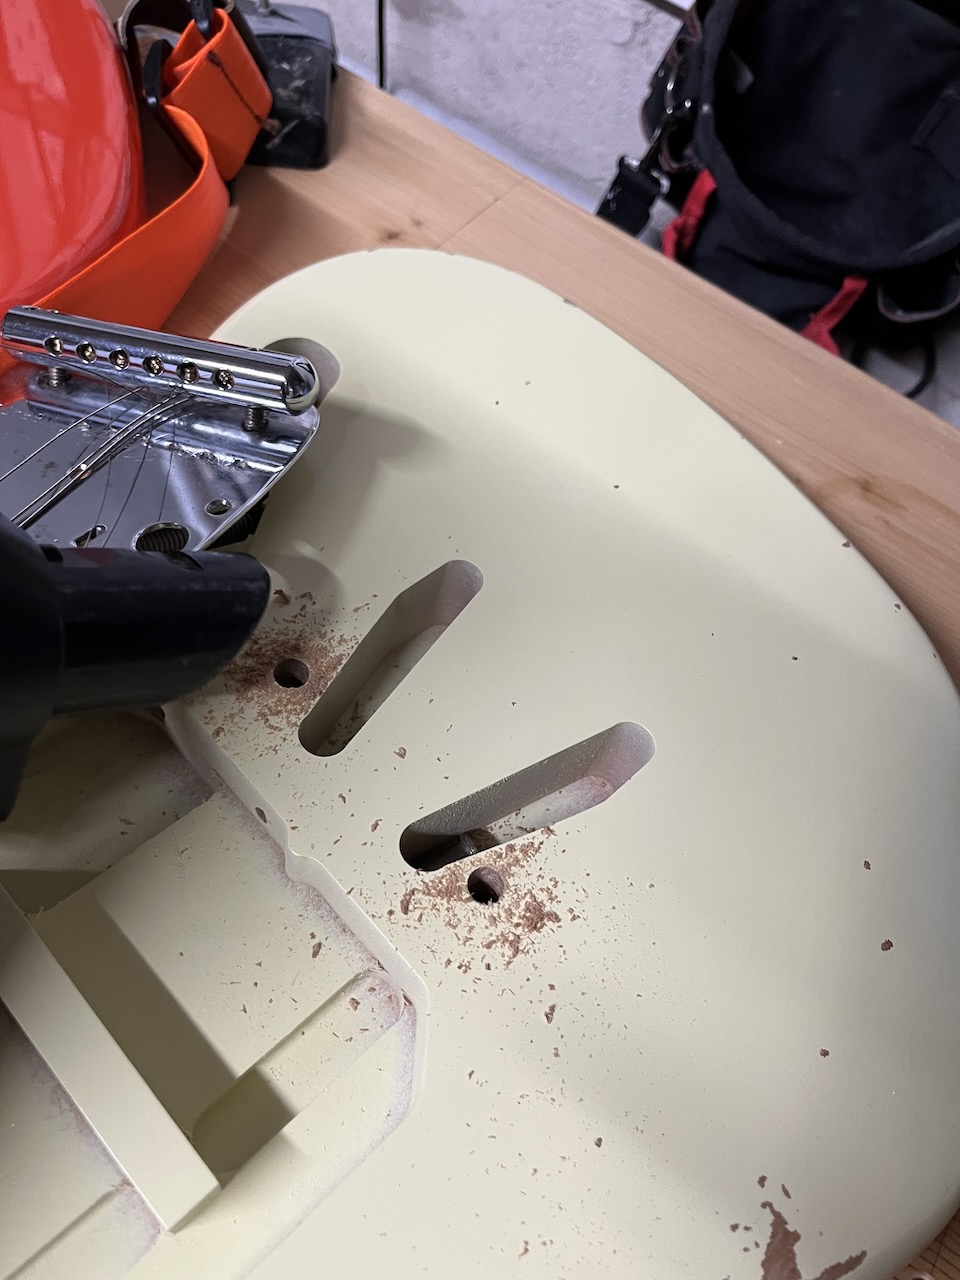 I just pushed the drill down, the existing holes act as a guide in this scenario. It was still a tight fit, and I
thought about widening the holes some more, but I preferred to hammer them in to position instead.
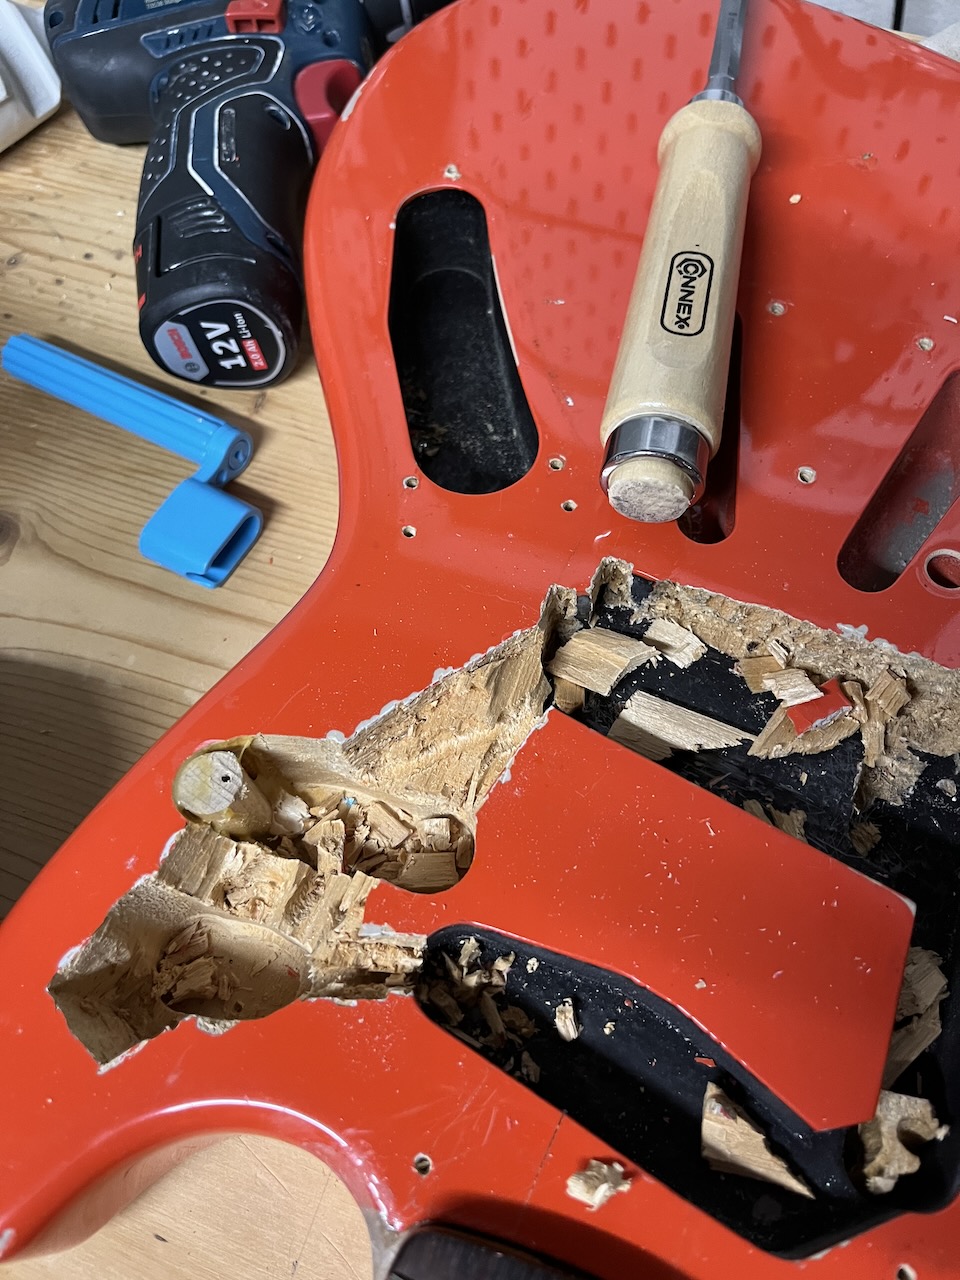 You can see the abuse I've subjected this body to over 20+ years of use. Here, I had to guage even more wood out to
get the wires out without having to de-solder. There is no doubt a special place in Luthier hell for people like me...
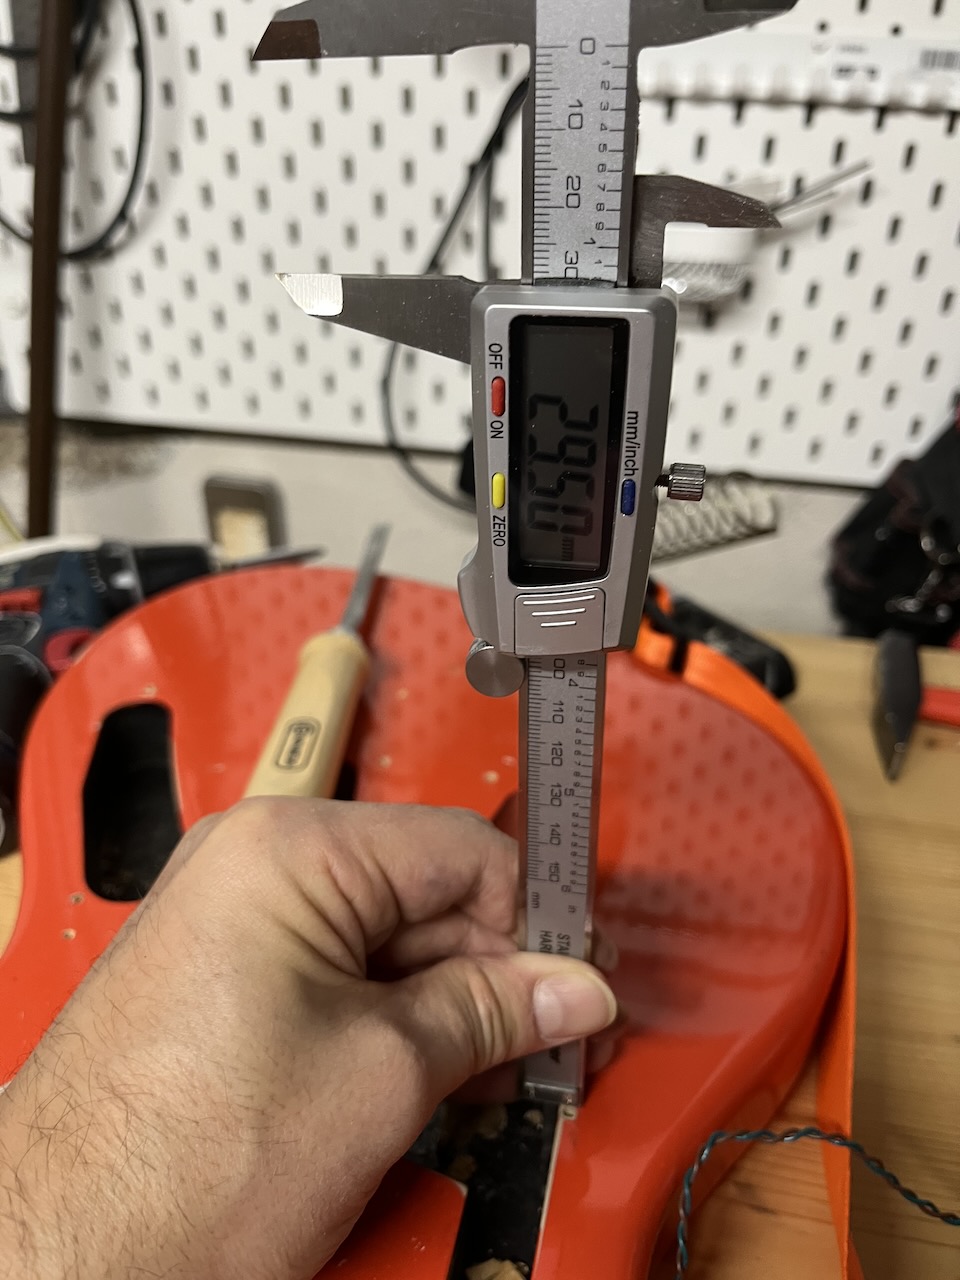 With the electronics out, I tried a quick test fit. I came across the second issue here.
The Pickup cavities were not deep enough for the humbucker screws...
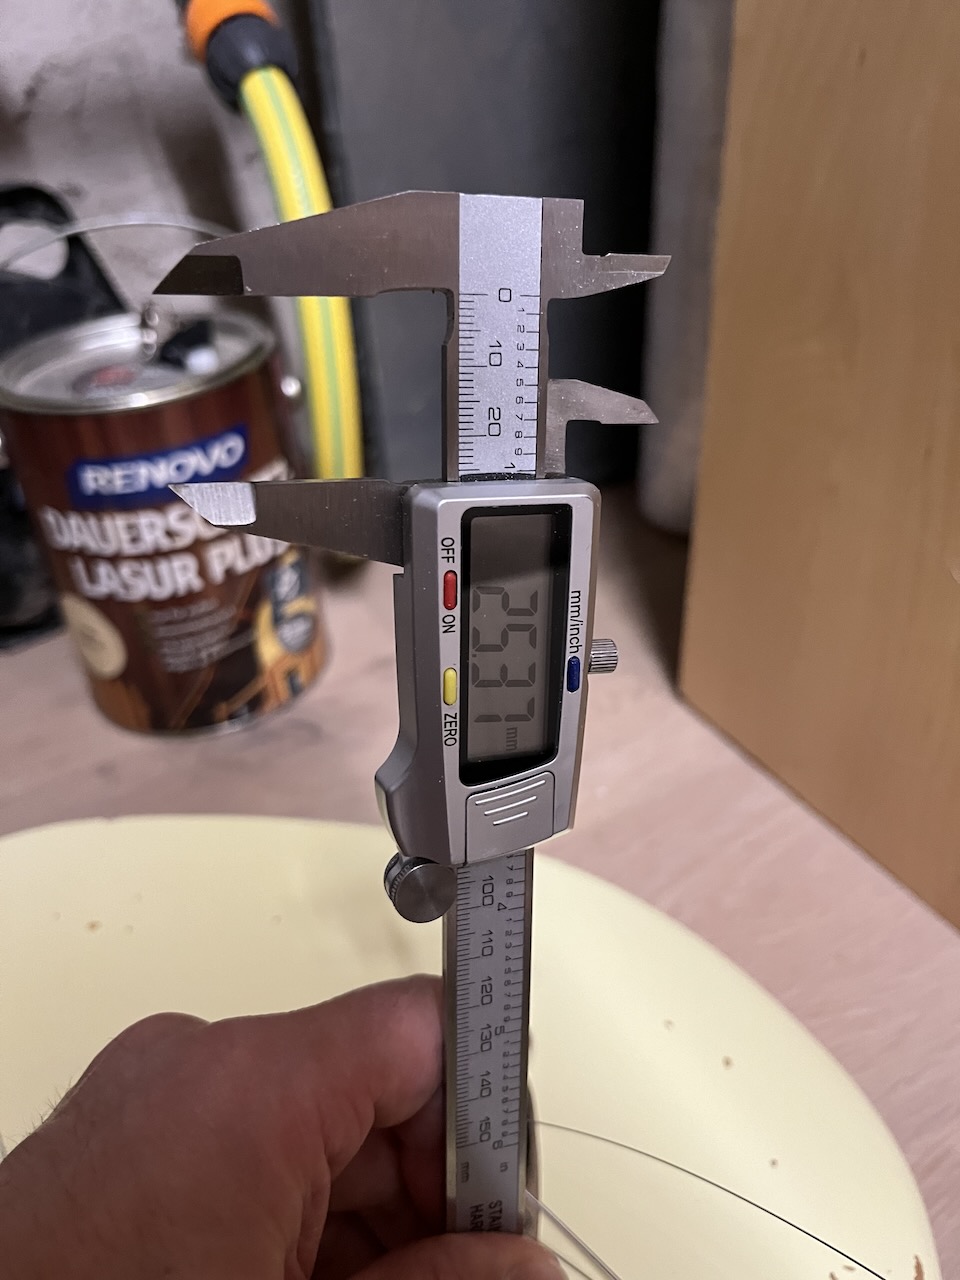
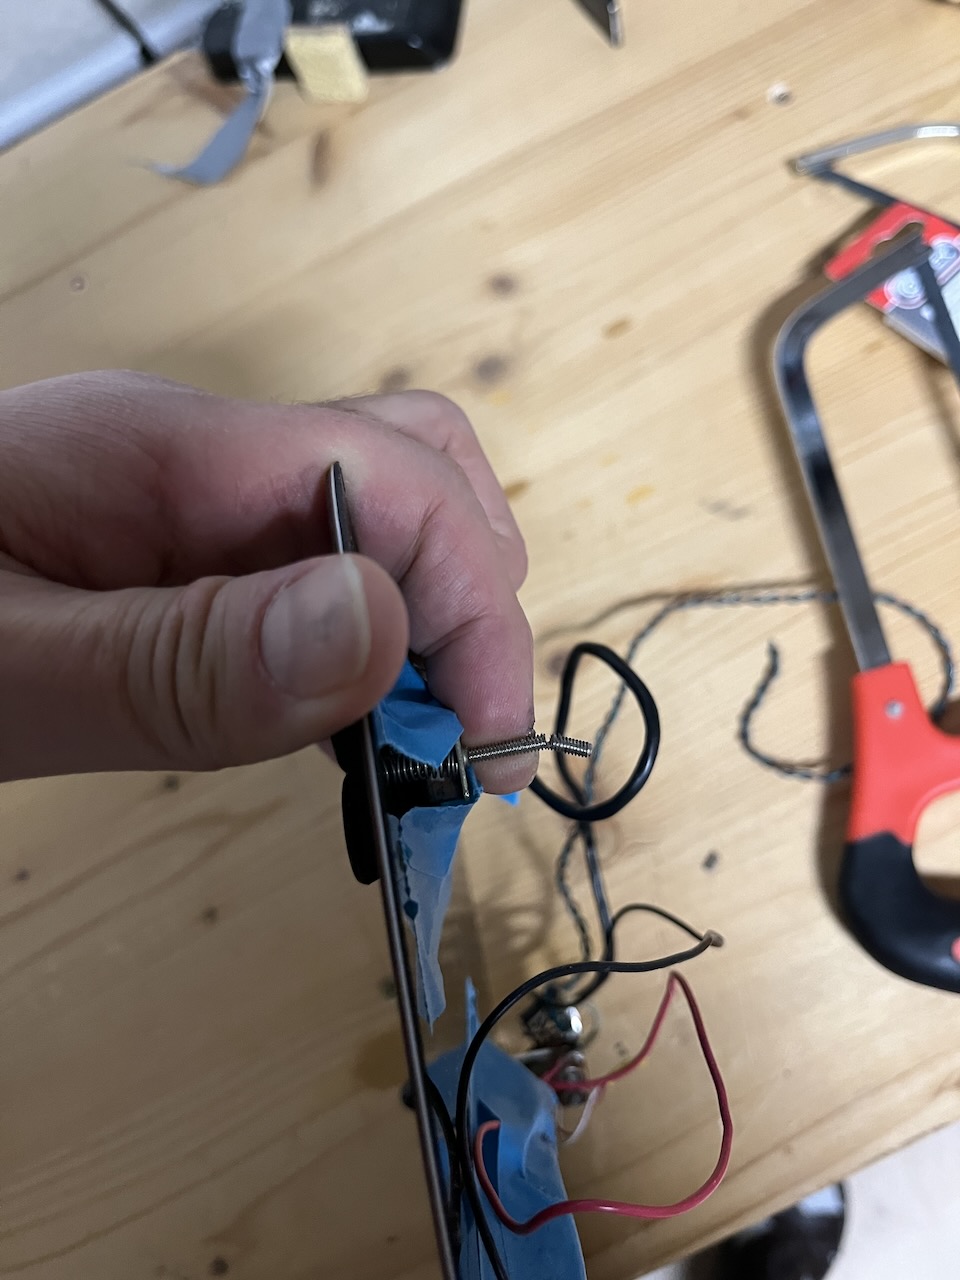 Nothing that can't be fixed with a hacksaw...
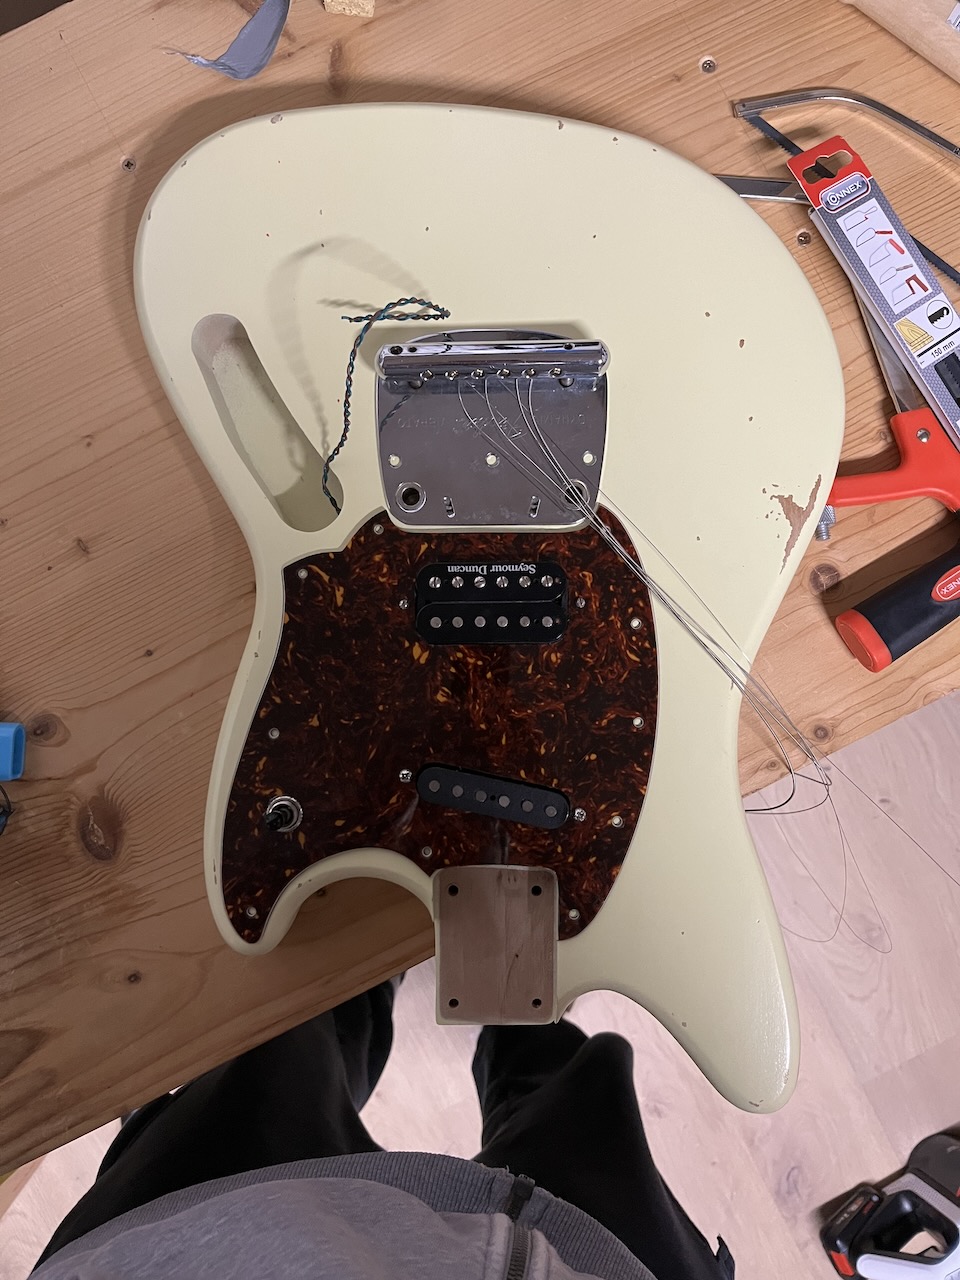 Here's a test fit.
To those who know their offsets: the regular Jag-Stang pickguard doesn't follow the lines of the bottom horn, it's a lazy effort from Fender. MY Jag-Stang pickguard was custom cut for my guitar, so that definitely doesn't fit. I was half hoping my regular Mustang guard would fit, but that didn't either.
This just confirmed what I expected already: I need to cut a custom plate.
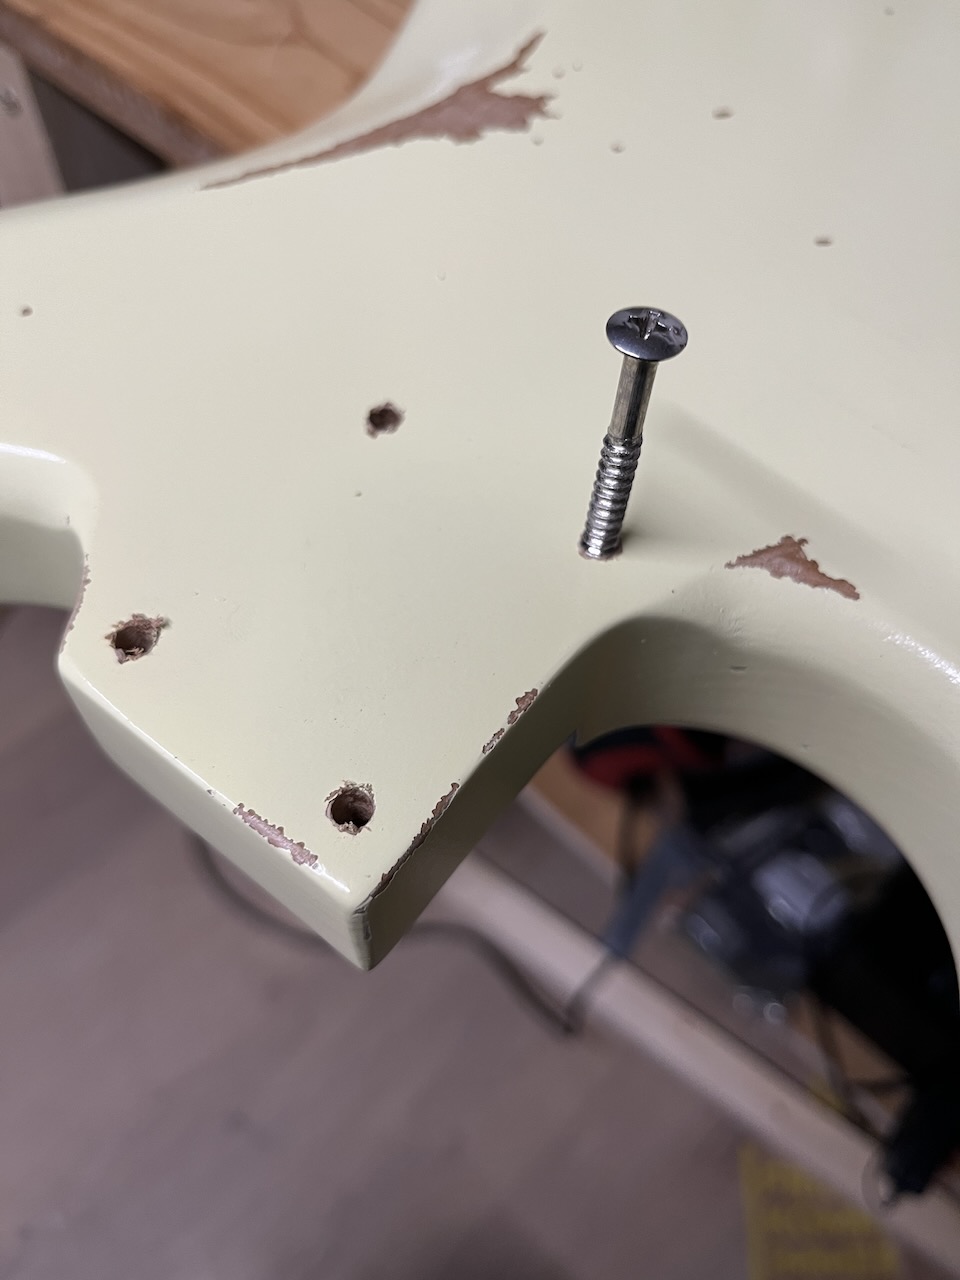 On to the neck. Here was the most disappointing part of the build for me...
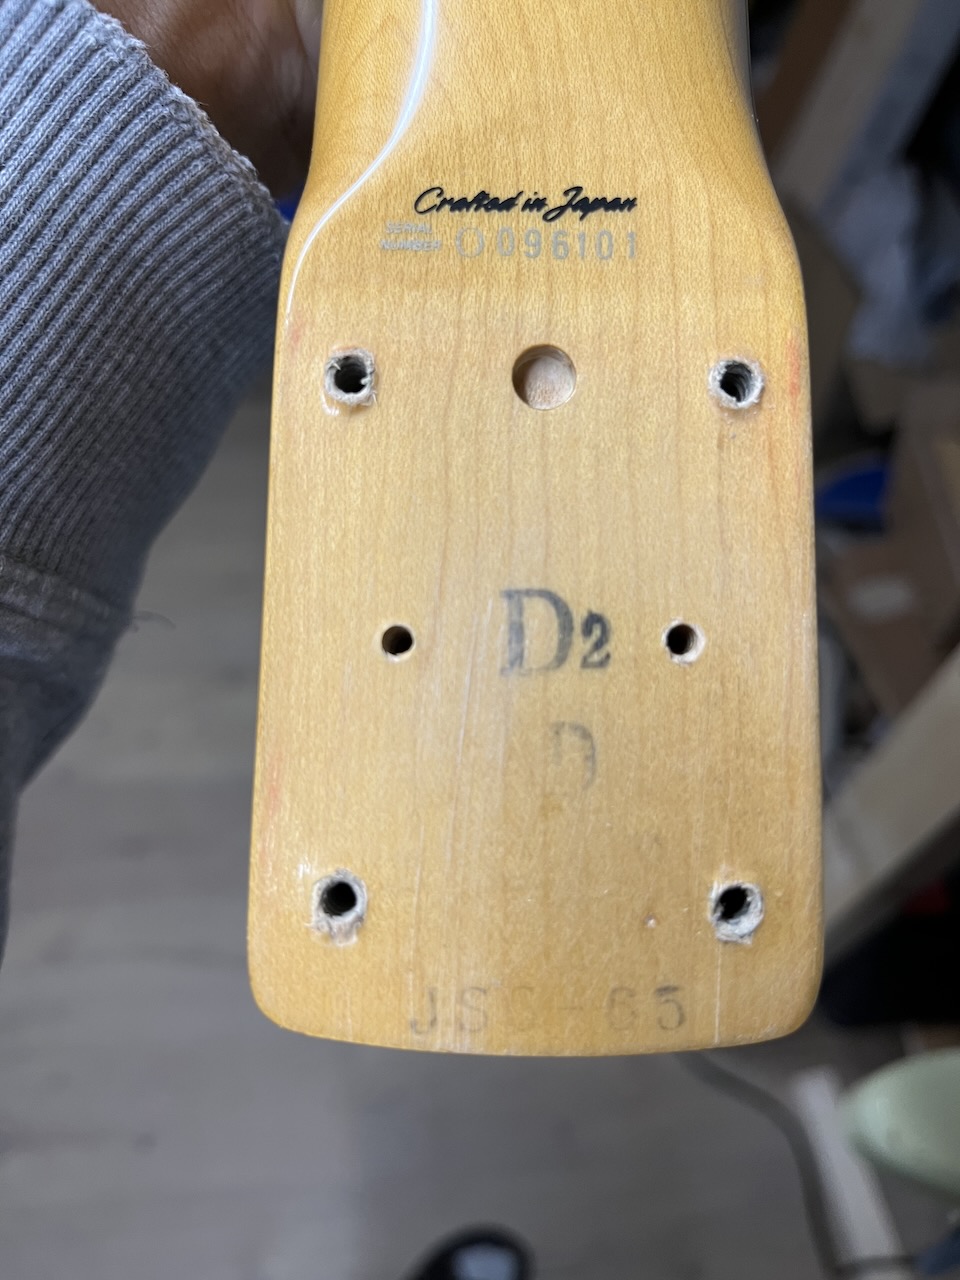 But first, a glamour shot of the back of my neck. You can see the additional screw holes in the middle, that's
because of a long history of neck alignment issues I've had with my Jag-Stang...
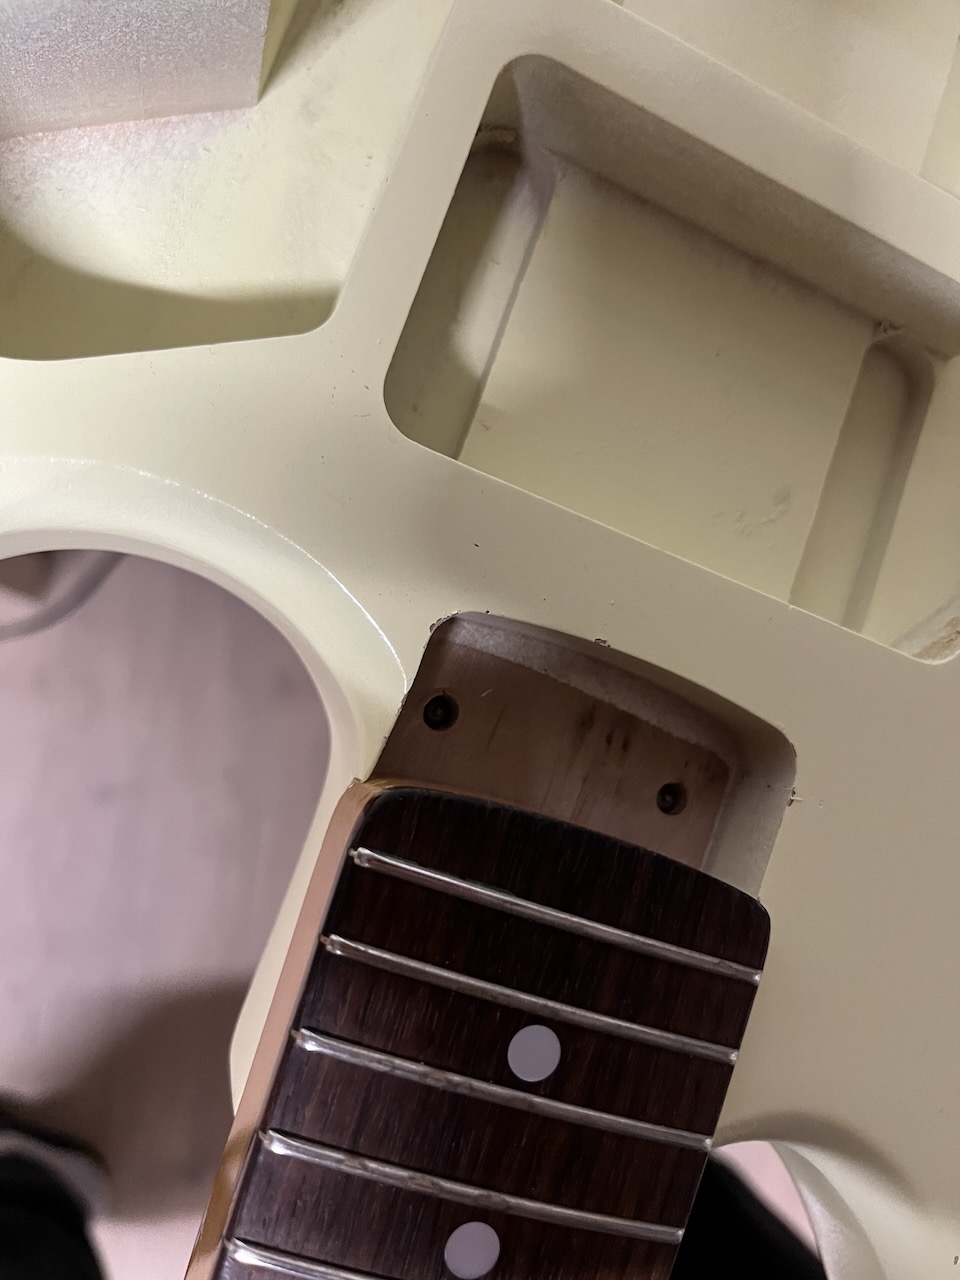 So Imagine my joy when I found that my neck didn't fit the pocket. I was very frustrated by this. I mean, I expected
a little tightness due to the finishing and such, but this was nearly 2mm out, that's quite a lot to sand away. I
had to chisel out some material.
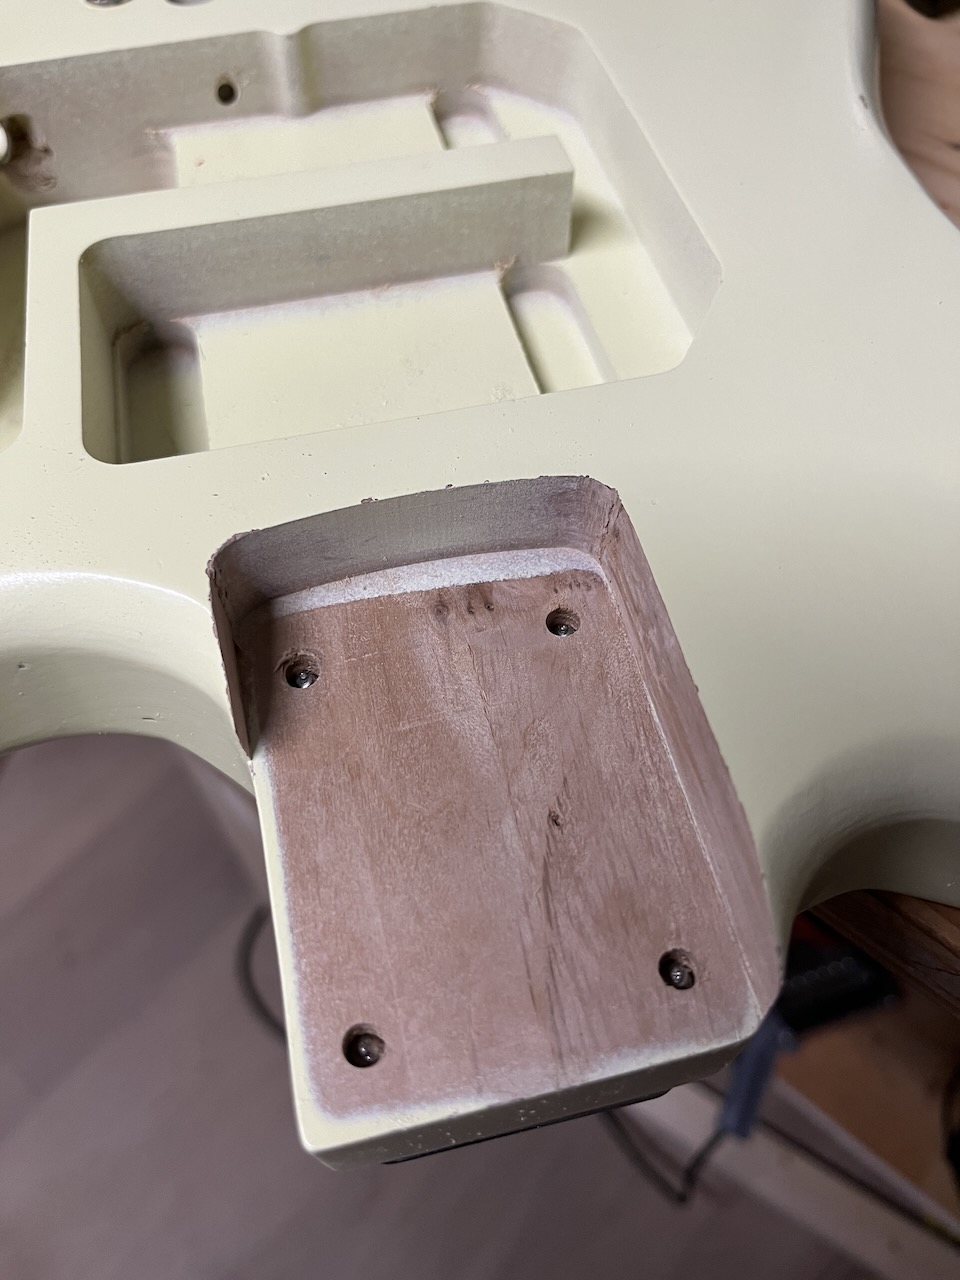 This was a lot of stress considering the back-story of my donor guitar - I've had SO MANY ISSUES with the neck of my
original Jag-Stang.
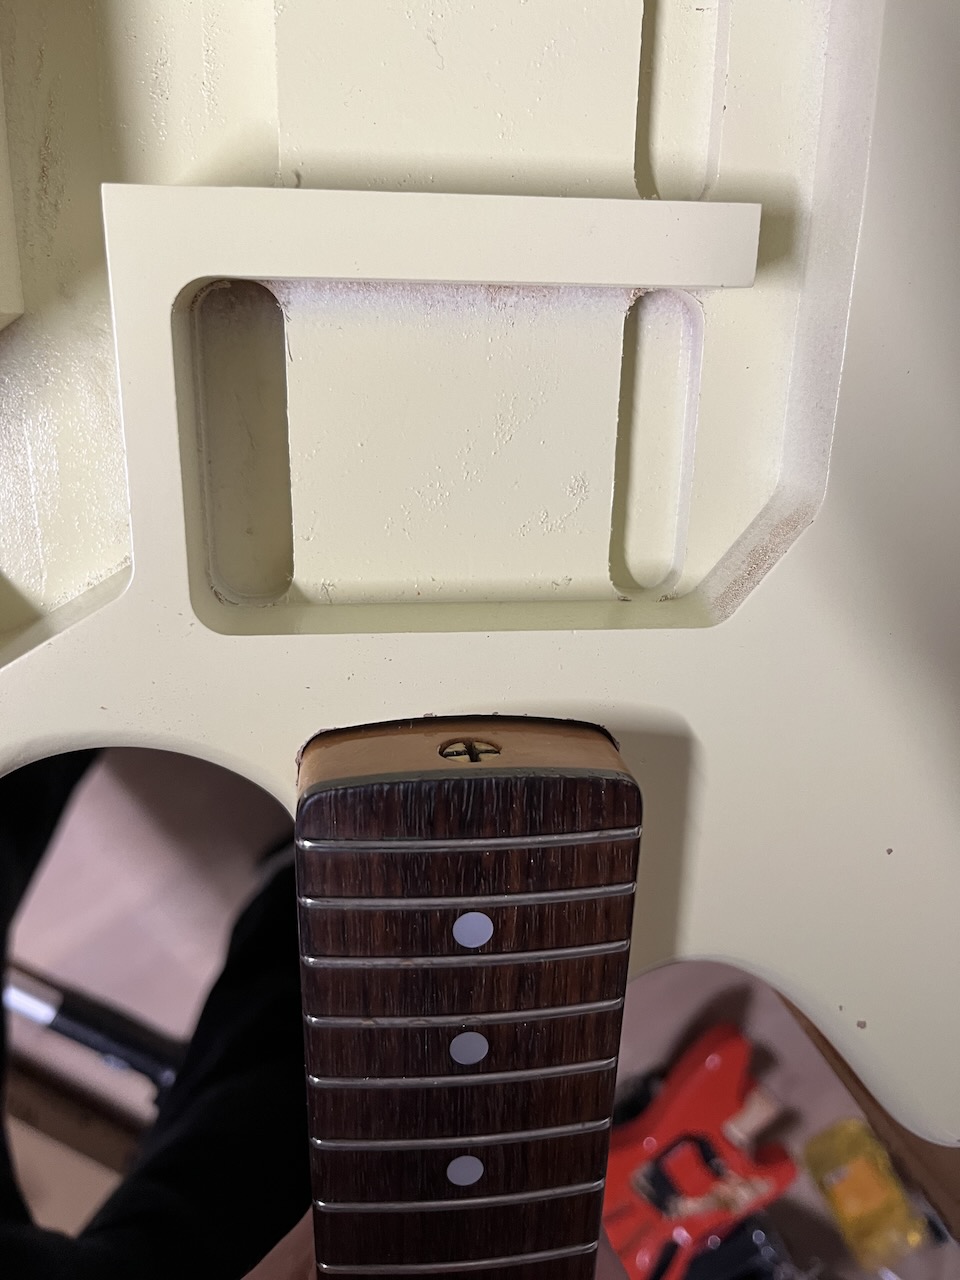 I have to say that these few issues aside, I'm generally happy with the guitar body. Since this is a build log, I'm
trying to focus the writing on the building experience. I'll write more about the guitar body later, as a post.
 The neck now fits beautifully, although there was initially a little misalignment...
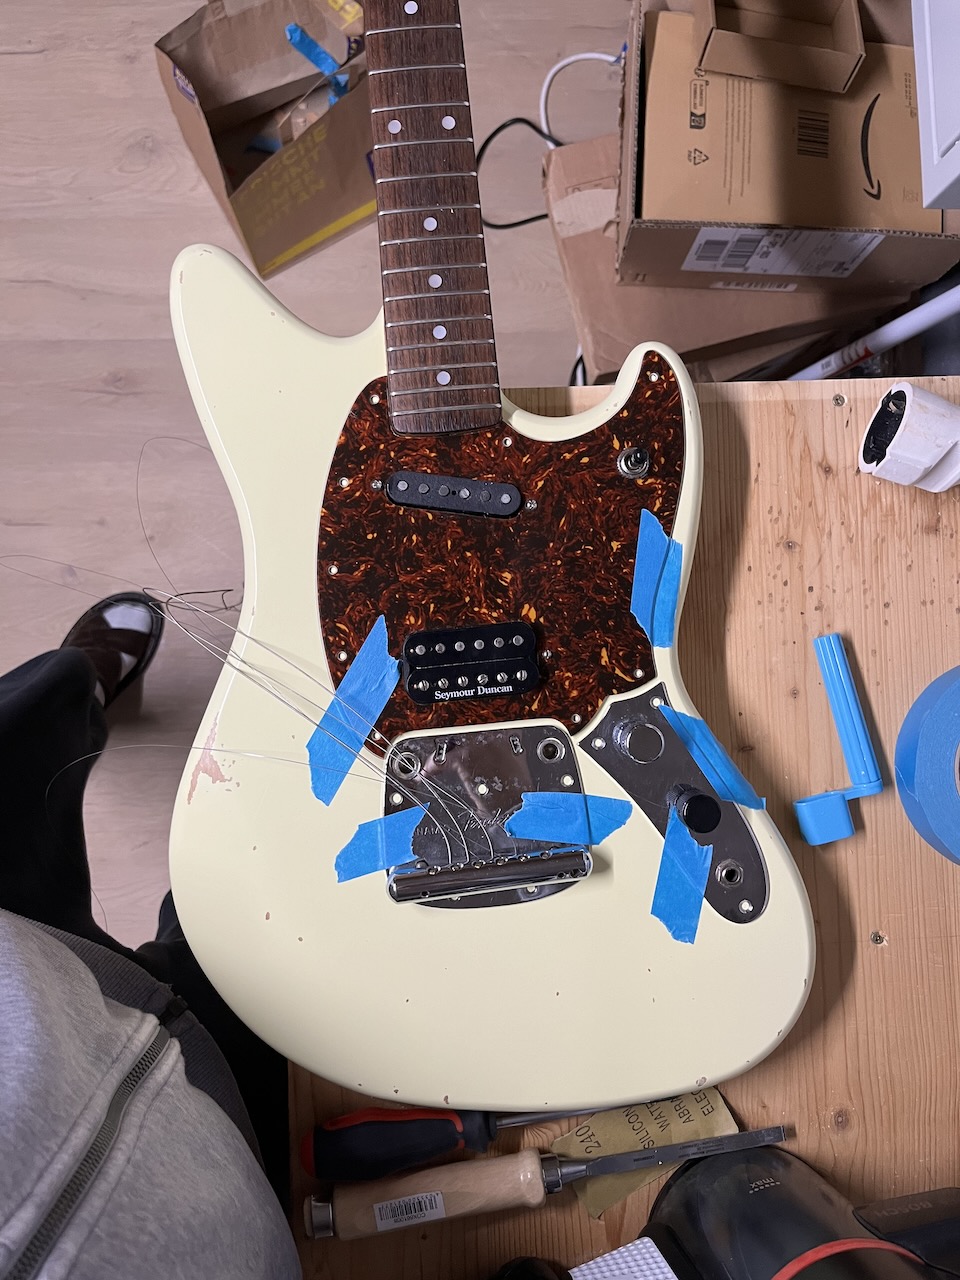 Another quick test fit This time to test the alignment of the various parts before drilling pilot holes for the screws.
I was expecting to have to customise the pickguard, this is where I realised it was a certainty (I had hoped that the alignment would have magically been perfect, you can't always get what you want!).
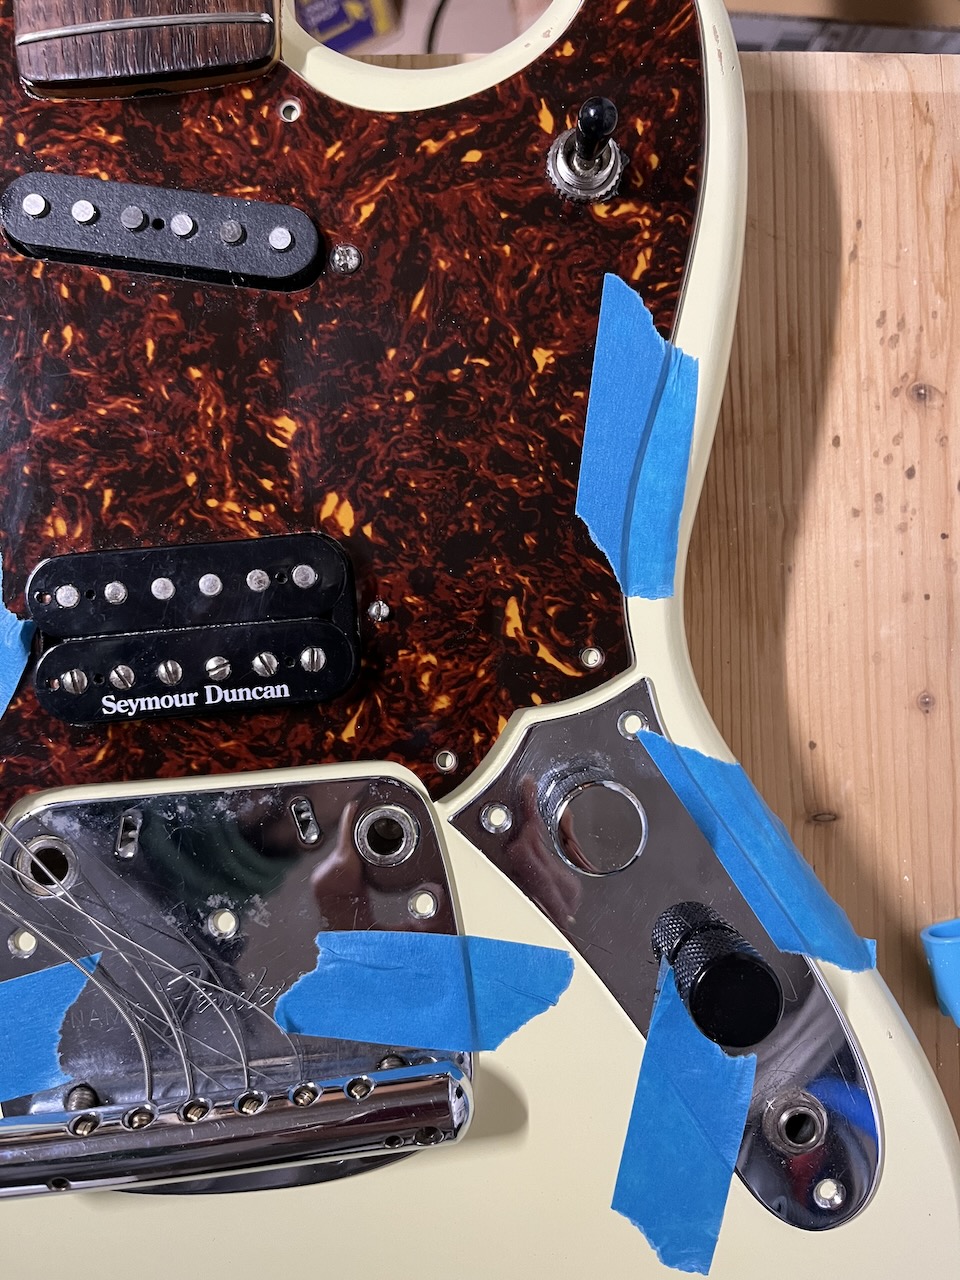 Here's a close up of the gap between the control plate and the pickguard. I actually like how the body follows the
control plate, so once I get around to making a custom pickguard, I'll try to match this distance from the edges,
and hopefully it'll look sh*t hot!
I had to move the pickguard around a bit to get that alignment with the bridge/tailpiece plate, and the control plate too. I made sure to leave a little space around the pots so it doesn't require a super tight fit.
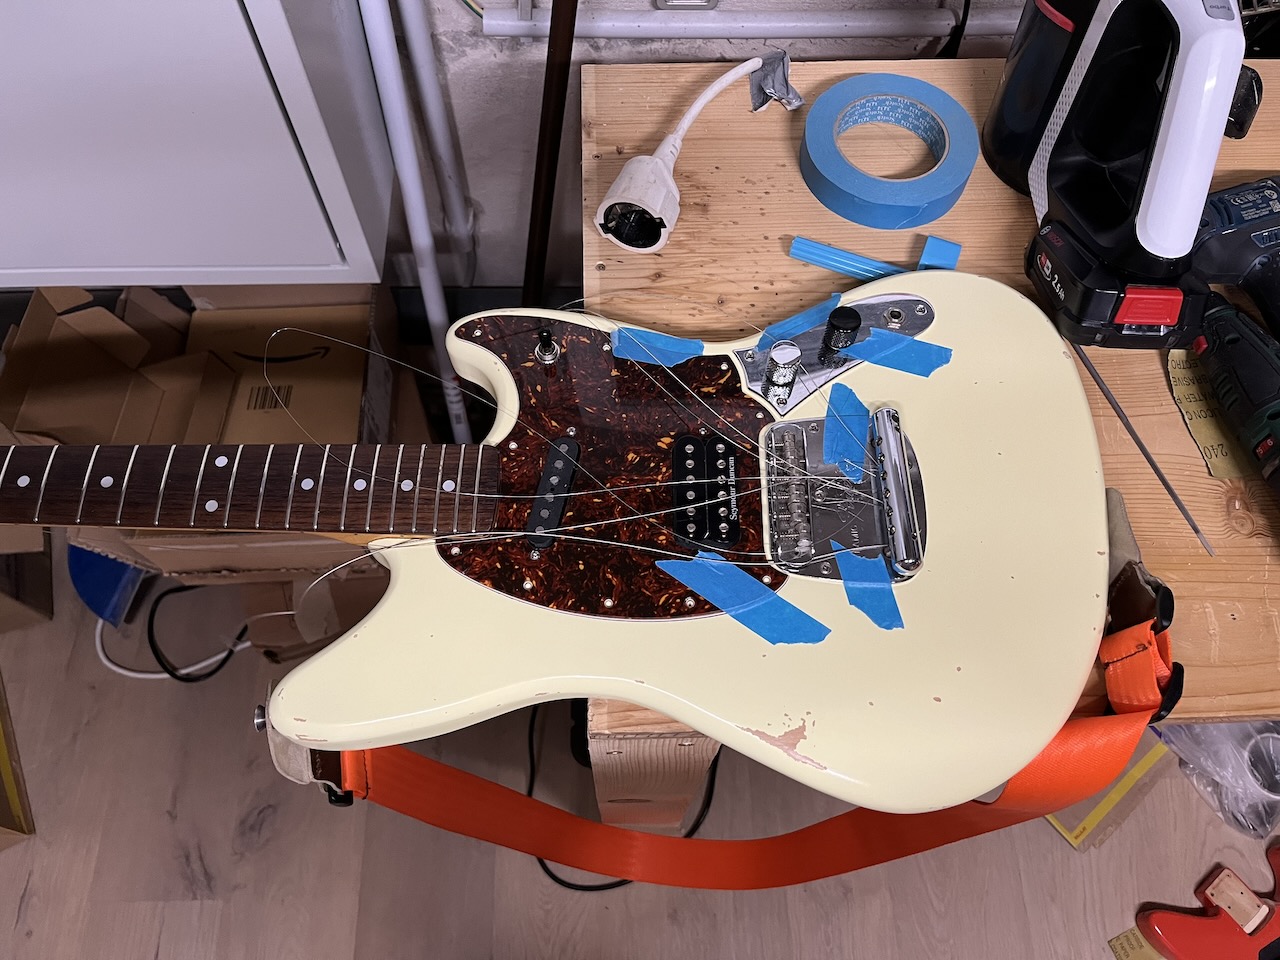 I stood back to admire how well that red tortoise guard matches the light yellow finish. I hadn't really thought
about the aesthetics much until now - beyond waiting until Rosser auctioned a body I liked the look of.
It looks really nice in person. I think I'm leaning towards a new mint pickguard...
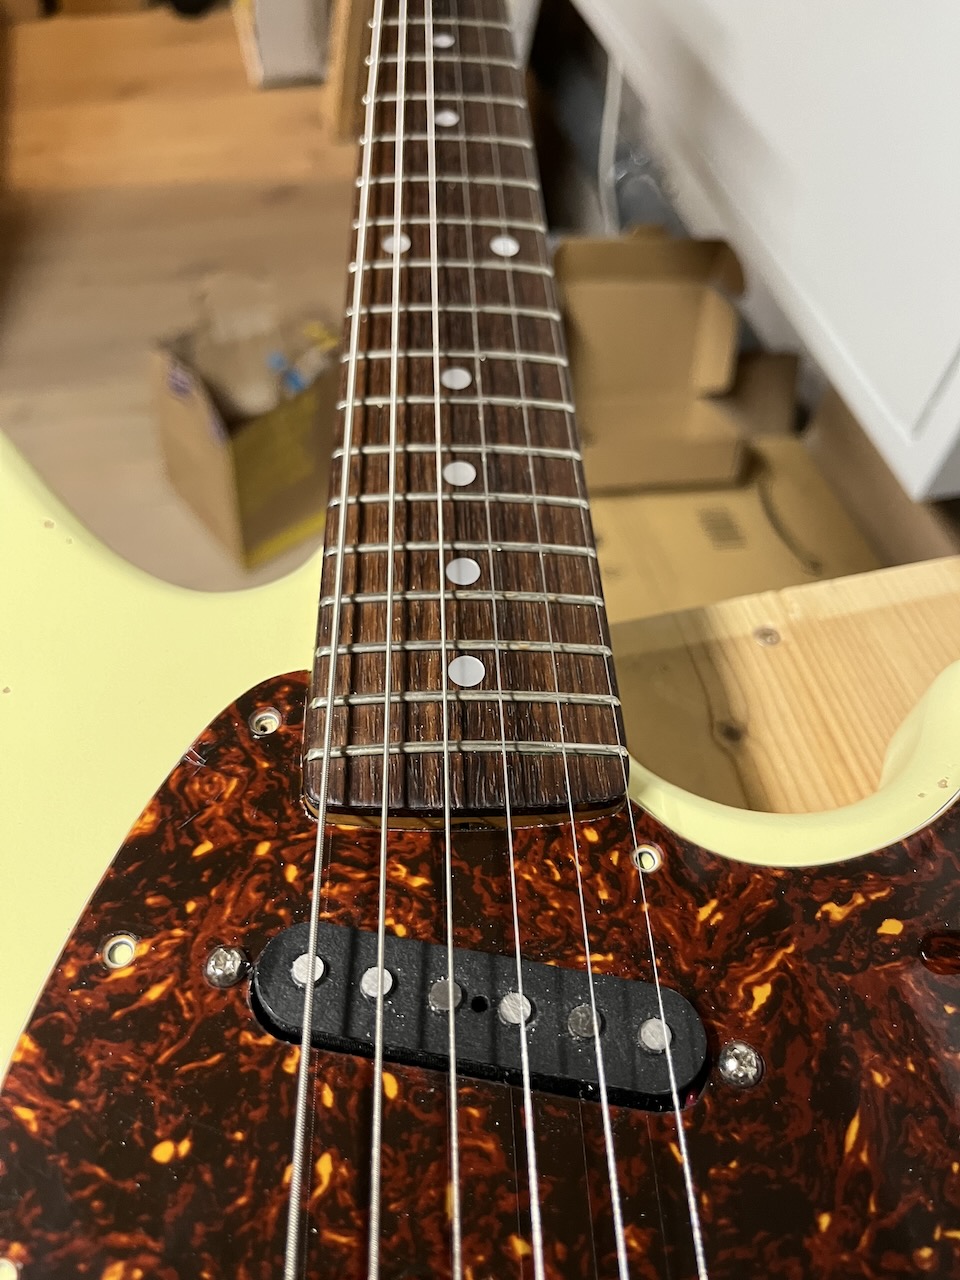 Here you can see the misalignment of the neck more closely. After this initial inspection I took it apart and had
another go at that neck pocket, it's a better alignment now. I think too that it'll be a better alignment in general
with a correct bridge - this one has a 55mm string spacing though 52-53mm is better for the Fender short scale (24")
guitars.
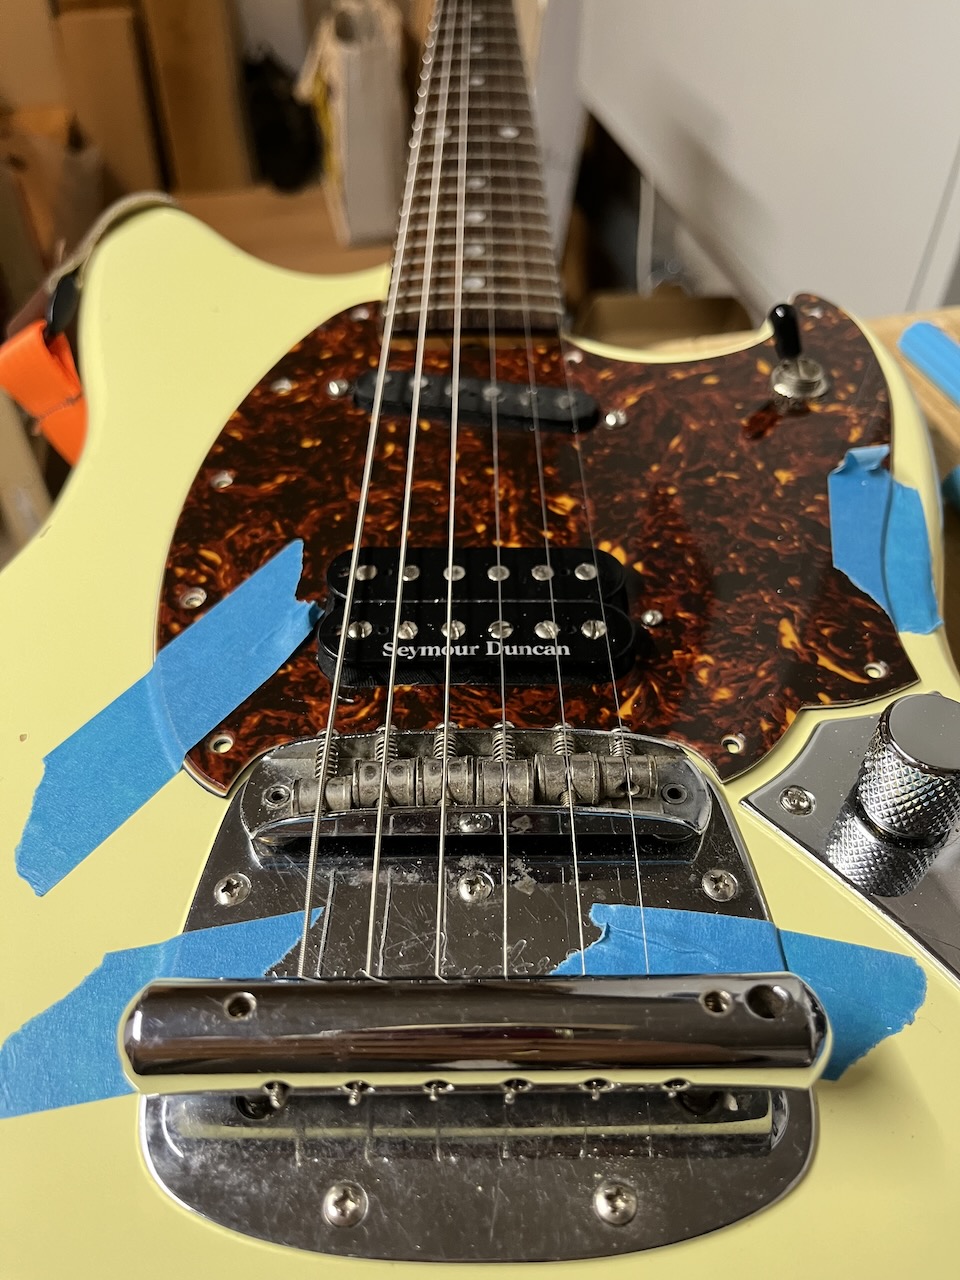 Another shot before I realigned it...
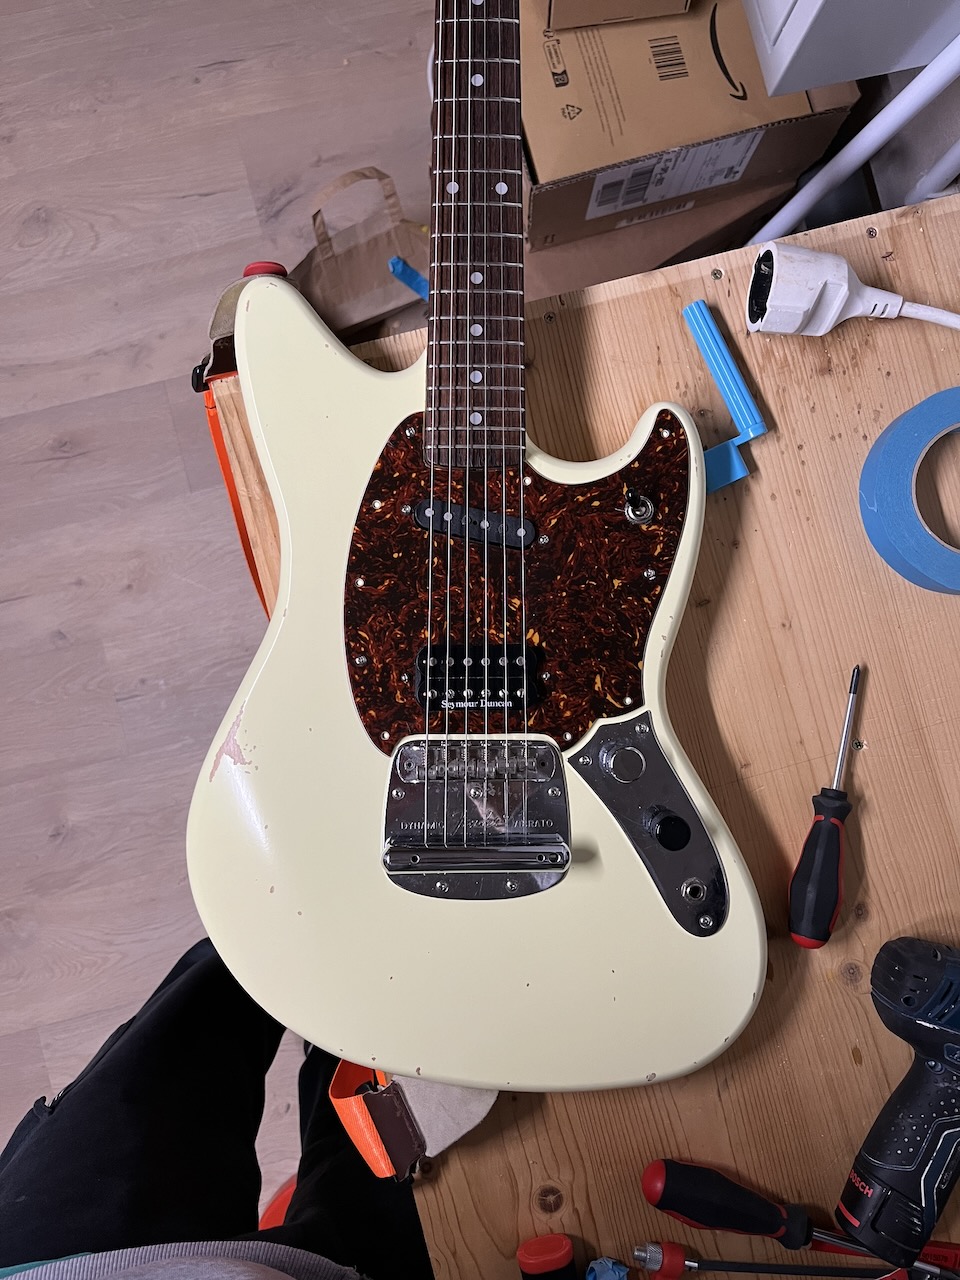 And another shot before I realigned it...
An interesting observation was about how the guitar sounds. This is an Alder body, and my Jag-Stang has a Basswood body. Unplugged, that guitar sounded very mid-forward, this one seems to have more bottom end. It's a subtle difference, but I assure you I've played that instrument for the better part of 20 years and I can feel a difference.
Obviously, plugged in through an amp is a different story.
But I think before I settle on my final pickup arrangement, I want to try my brighter Sonic Mustang electronics here, to see if it sounds nearly as bright and punchy.
That's a topic for another post...